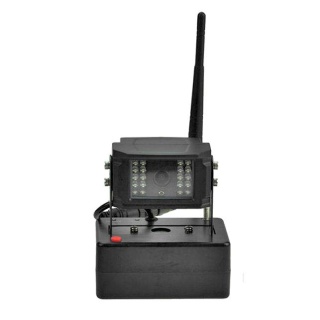
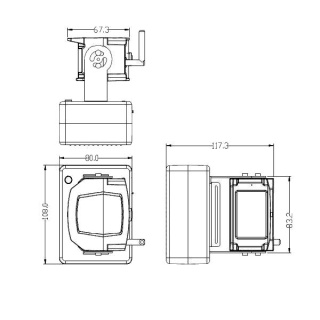
The new Durite 0-774-80 magnetic camera is easily mounted onto any point of your trailer and is compatible with the more comprehensive Durite range, so you have the flexibility to record, live stream, and comply with FORS and DVS.
- Crystal clear image: 700TVL 2.8mm lens.
- 8600mAh Battery can last up to 9 hours.
- Strong magnetic base to resist high speeds.
- 100m transmission range.
- Protected to IP67/IP69K.
- Vibration 10G.
Wireless Magnetic Camera Specifications
Type
Magnetic Camera - 1/3 inch Sharp CCD
Viewing Angle
Horizontal: 120°, Vertical 95°
Video Output
1.0vp-p,75ohm AHD
RF Working Frequency
2.4-2.4835G
RF Modulation Mode
QPSK MD301RE 16QAM MD301SE
Signal Transmission Distance
100 Meters
Certificate
E Marked R10 EMC
WARNINGS
Before using this unit, please read these instructions carefully. Take special care to follow the warnings and safety suggestions listed below. Keep these instructions for future reference. There are no user-serviceable parts within the unit. Refer servicing to qualified service personnel.
PRECAUTIONS
• Please ensure you are familiar with and comply with local traffic and driving regulations.
• Connection - The camera should only be connected to a Durite CCTV system.
• Heat - Do not install the camera near heat sources.
• Mounting - Ensure the camera is facing the desired direction before fixing the camera base. If fixing to isolated return chassis, the camera bracket should be isolated from the vehicle chassis.
• Service - The user should not attempt to service these units beyond that described in these instructions. All other servicing should be referred to an authorised service technician.
GENERAL
The camera has a CCD image sensor, which gives a high-quality picture, and its solid-state circuitry provides an extremely long life. The compact size and single connection make it easy to install. Automatic gain control (AGC) provides a clear image in both strong sunlight and low light conditions. It is recommended that all camera lead connections are additionally sealed by either wrapping them with suitable tape or applying heat shrink sleeving. Connecting the system and testing before fixing it is recommended to display the correct field of view.
OPERATION
1. Plug in the camera connection power cable, press the POWER ON button, and the green indicator light will turn on. Then press the POWER ON button twice; the blue light should now turn on, and the unit has entered the pairing state.
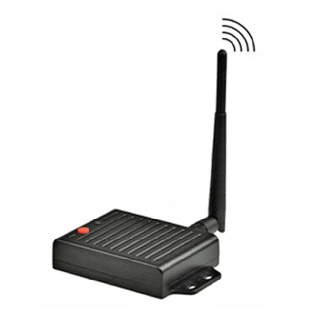
2. Connect the 4P aviation connector on the receiver RX box (purchased separately) side to the device of your choice, e.g. monitor, MDVR. Connect DC12-24V power to the red +VE fly lead, and the red light should turn on.
3. The wireless receiving box is suitable for 1 to 1 pairing. No trigger line is required. (please note that this item is not included with the camera.)
4. The pairing can be successful When the camera and the receiving box pair simultaneously. At this time, the blue indicator light of the receiving box is on, and the display has image output.
5. After the camera battery base battery is exhausted, it can be connected to the matching adapter, and the red indicator light will light up when charging. Remarks: It can operate and charge at the same time.
.jpg)
